You’ve worked hard on your website. Your portfolio is gorgeous, your copy is polished, and your images are chef’s kiss. Then you share your link on Facebook or send it to a potential client via email — and the preview that pops up is a blurry, cropped mess. Or worse, nothing shows up at all.
What happened?
The culprit is almost always a missing or incorrectly sized social sharing image — what web developers call an Open Graph image, or OG image for short. The good news: it’s completely fixable, and you don’t need to be technical to do it.
What Is a Sharing Image, Anyway?
When you paste a link into Facebook, LinkedIn, Slack, or even a text message, those platforms don’t just show a bare URL. They go and “read” your page in the background, looking for specific instructions about what image, title, and description to display in the preview card.
Those instructions are called Open Graph tags, a set of behind-the-scenes labels originally created by Facebook in 2010. The image portion of those tags is your OG image: the thumbnail that shows up when your link is shared.
Without a properly set OG image, the platform will guess, and it usually guesses wrong, grabbing whatever image it happens to find first on your page. That might be your logo, a tiny icon, or nothing at all.
The Magic Number: 1200 × 630 px
Different platforms technically have slightly different size preferences, but there’s one size that plays nicely with almost all of them:
1200 × 630 pixels
Aspect ratio: 1.91:1 · Format: PNG or JPEG
If you’re a visual person, think of it like a standard landscape canvas — a little wider than it is tall, roughly the shape of a wide-screen movie frame. That 1.91:1 ratio is what the web has settled on as the universal standard for link previews.
I’ll be honest, I don’t like to work harder than I have to. So here’s my personal shortcut: I make the overall image 1200 × 630 px, but I keep all the important stuff (text, logo, key visuals) inside a centered 530 × 530 px square. That one rule covers almost every crop scenario across every major platform. No fussing with platform-specific sizes required. I’ll explain exactly why:
The Safe Zone Rule
Here’s where things get a bit nuanced, and why the 530 × 530 px safe zone I mentioned above is such a handy shortcut. Even with the right overall dimensions, different devices and platforms can crop your image slightly. Especially on mobile.
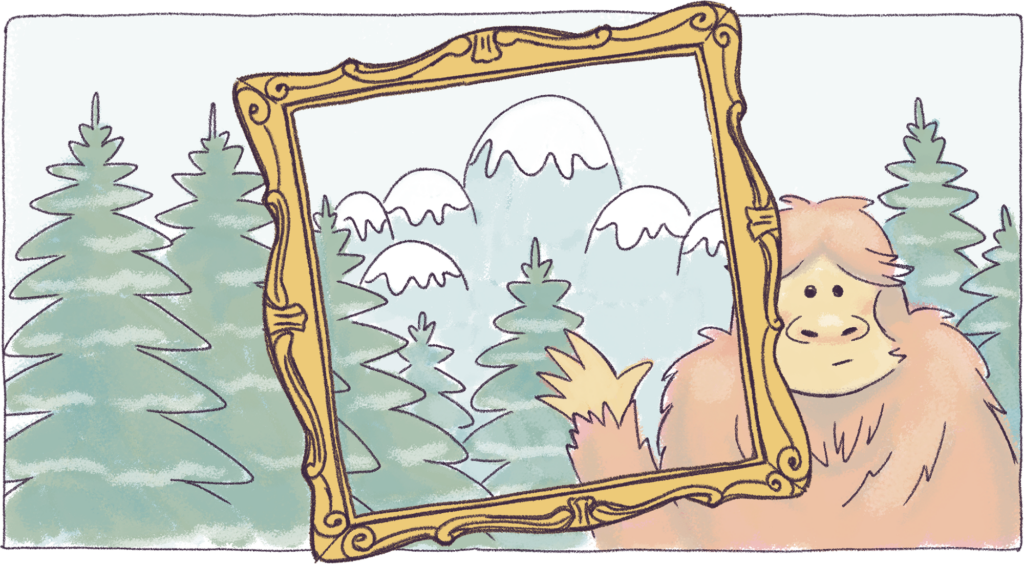
Think of your OG image like a painting you’re framing for a gallery. You wouldn’t put your signature right at the very edge of the canvas, because the mat might cover it. The same principle applies here:
- Keep all important content (text, logo, faces) centered in the image.
- Leave at least 50px of “breathing room” around all four edges.
- X (Twitter) automatically crops a tiny bit off the top and bottom to fit its slightly taller 16:9 ratio. So centering is especially important if Twitter is where your audience lives.
- If you want the image to look good even in square crop scenarios (some mobile views), keep your main subject within a centered square portion of the image.
File Format & Size Tips
The format you save your image in actually matters more than you might think:
- PNG is best for images with text, logos, or sharp graphics. It stays crisp without compression artifacts.
- JPEG works well for photographic images where file size is a concern.
- WebP is increasingly supported, but PNG or JPEG are safer bets for broad compatibility.
As for file size, keep it under 5MB. Some platforms will flat-out reject anything larger. For the best loading speed (which affects whether your preview even shows up in time), aim for under 1MB. Most well-optimized images at 1200 × 630 come in well under that.
How to Set Your Sharing Image (By Platform)
The good news: if you’re using one of the major website platforms, you don’t need to touch any code. Here’s exactly where to find the setting on the most popular platforms for creatives.
WordPress (with Yoast SEO)
- Install the free Yoast SEO plugin if you haven’t already (it’s the most popular SEO plugin and handles OG tags automatically).
- In your WordPress dashboard, go to Yoast SEO → Settings → Site Info.
- Under the Site Image, upload your default image. This image will be used as the fallback for any page that doesn’t have its own image set.
- For individual posts or pages, select a Featured Image.
- Alternatives: Rank Math and All in One SEO should offer the same functionality if you prefer those plugins.
Shopify
- In your Shopify admin, go to Online store, then Open sales channel, then click Preferences.
- Scroll down to the Social sharing image section and click Add image.
- Upload your 1200 × 630 image and click Save.
- Note: For product pages, Shopify automatically uses the product’s featured image. For collection pages and blog posts, the collection or article image is used. The image you set in Preferences acts as the fallback for all other pages.
Wix
- In the Wix Editor, click Pages & Menu on the left sidebar.
- Hover over the page you want to update and click the More Actions icon (…).
- Select Social share from the dropdown menu.
- Click Upload Image to choose or upload your OG image.
- Click Add to Page, then publish your site.
- To set one image for your entire site: go to your site’s Site and Domain → Website settings, scroll to General social image, and upload your image there.
Squarespace
- For a site-wide default: log in and go to Settings → Social Sharing panel. Click + to upload an image or select from your library, or click and drag your image into the uploader and save.
- For individual pages: go to the Pages panel, hover over the page, and click the gear icon to open Page Settings.
- Click the Social tab and upload your custom image for that specific page.
- Save your changes. This page-specific image will override the site-wide default whenever that page’s link is shared.
✨ Pro Tip: Facebook caches link previews aggressively, so if you update your OG image and Facebook still shows the old one, use the free Facebook Sharing Debugger tool (search “Facebook Sharing Debugger”) and click “Scrape Again” to force it to fetch the fresh version.
For the Curious: How It Works Under the Hood
If you’re interested in the “why” behind all of this: social platforms work by reading a few special lines of HTML code inside the invisible “head” section of your webpage. These lines tell platforms exactly what image, title, and description to use in a link preview.
For most platforms, the key tags look something like this:
og:image — the URL of your sharing image
og:image:width — the width (1200)
og:image:height — the height (630)
twitter:card — tells X to show a large image card
The platforms above (WordPress, Shopify, Wix, Squarespace) all add these tags for you automatically once you’ve uploaded your image in their settings. You only need to touch code if you’re working on a custom-built site — in which case, reach out and we’ll get it sorted.
Check Your Own Link Previews
I built a free tool for exactly this: the Link Preview Tool shows you exactly how your link will appear on Facebook, X, LinkedIn, Slack, and Google (including the square crop simulation) all in one place. Paste in your URL and see for yourself.
And if you’d like a hand setting it up, or if you’re not sure what platform is right for your site, that’s exactly what I’m here for.
What does your link preview actually look like right now?
Which platform matters most to your audience?
And does your preview shine there?